Firebase Push Notifications in .NET MAUI (iOS)

In my previous post, I walked you through how to get started with push notifications with Firebase on Android. This time, you’ll learn how to do it on iOS.
Let’s get started.
Install NuGet package
Create a .NET MAUI project in Visual Studio and install the NuGet package Plugin.Firebase.

Unsupported TargetFrameworks
The plugin does not support Mac Catalyst or Windows, so you have to remove these target frameworks from your .csproj:

Also, remove them from the SupportedOSPlatformVersion and TargetPlatformMinVersion:

Your .csproj PropertyGroup should look like this:
Setup in Firebase Console
Create a project in the Firebase Console.
Once you’re done creating a project, you’ll be redirected to the Project Overview page.
Click iOS to start adding Firebase to your app. If you have an existing Firebase project, just click Add app then click iOS.

IMPORTANT: Make sure to enter the bundle ID (ApplicationId in your .csproj file) that your .NET MAUI project is using.
Firebase configuration file
Add the GoogleService-Info.plist file to the root folder of your project. Set the Build Action to BundleResource then include it in your .csproj file like this:
<ItemGroup Condition="'$(TargetFramework)' == 'net6.0-ios'">
    <BundleResource Include="GoogleService-Info.plist" />
</ItemGroup>
Firebase Initialization
Put the initialization call in your MauiProgram.cs like this:
Enable Cloud Messaging
To make your app receive push notifications, modify the method CreateCrossFirebaseSettings:
iOS Setup
Log into your Apple Developer Portal account, then go to Certificates, Identifiers & Profiles.
Go to Identifiers then click add (+). Follow the setup steps.
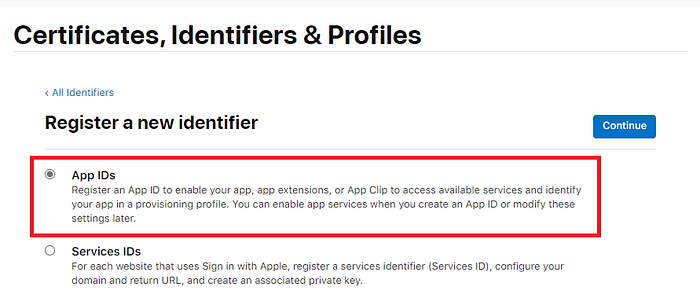
Select App IDs then click Continue.
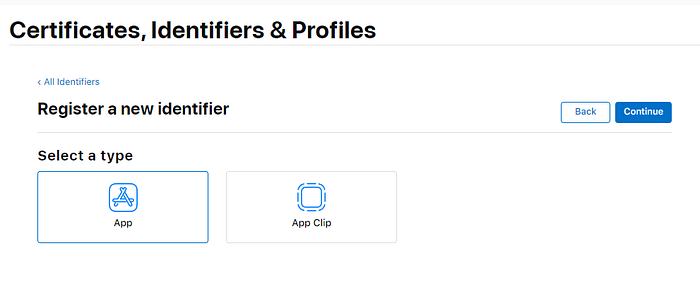
You’ll be asked to select a type, choose App then click Continue.
Enter Description and Bundle ID (ApplicationId in your .csproj file).
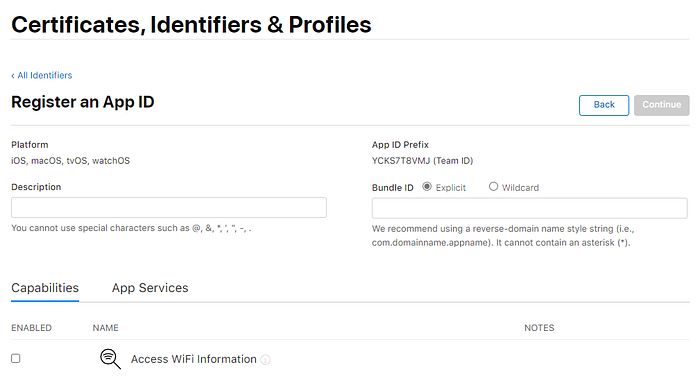
Enable Push Notifications in the Capabilities list, then click Continue.

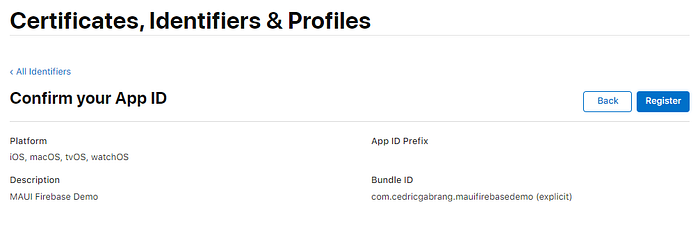
Confirm your App ID details, then click Register.
Create a provisioning profile for the newly created App ID. If you’re using a development certificate, make sure to add your physical device on to the provisioning profile.
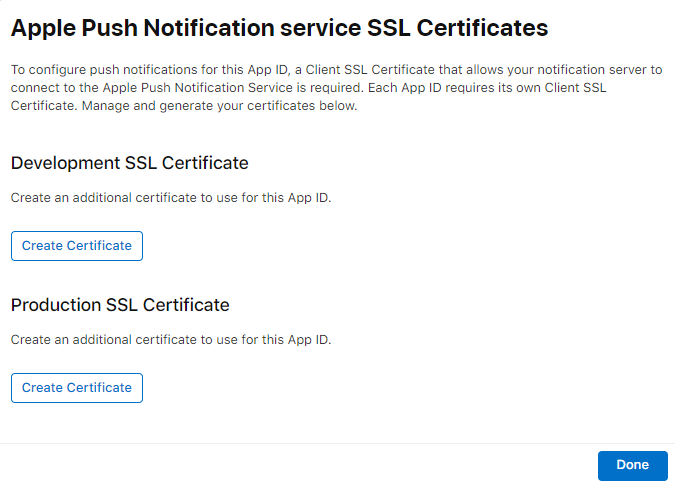
Go back to the newly created App ID and configure Push Notifications. You’ll be prompted to create an additional certificate. Click Create Certificate and follow the setup steps.
Download and double tap it.
APN Authentication Key
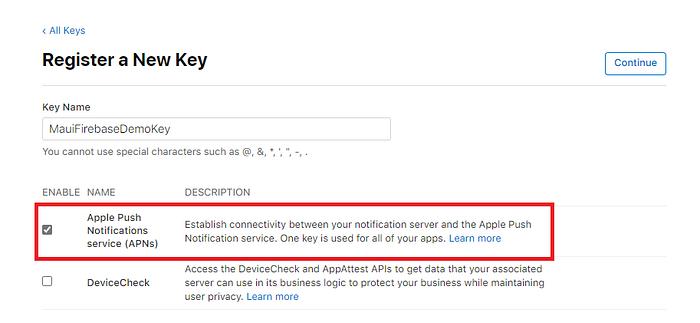
Go to Keys then click Create a key.
Enter Key Name and select Apple Push Notifications service (APNs), then click Continue.
Download and upload APNs authentication key to your project in the Firebase Console.
Enable Push Notifications
Switch back to your Visual Studio and add Entitlement.plist file to your iOS platform folder then enable Push Notifications like this:

Retrieve FCM Token
This token is the identifier that Firebase uses to determine which device it should send push notifications to.
In your MainPage.xaml.cs, modify the event handler OnCounterClicked:
Finally, run your app on a physical device. Click the button to retrieve the token for your device. Go to the Output window and copy the token or set a breakpoint in your code and copy the value.
Relaunch the app without the debugger, otherwise the push notification may not be received.
Let’s try it out!
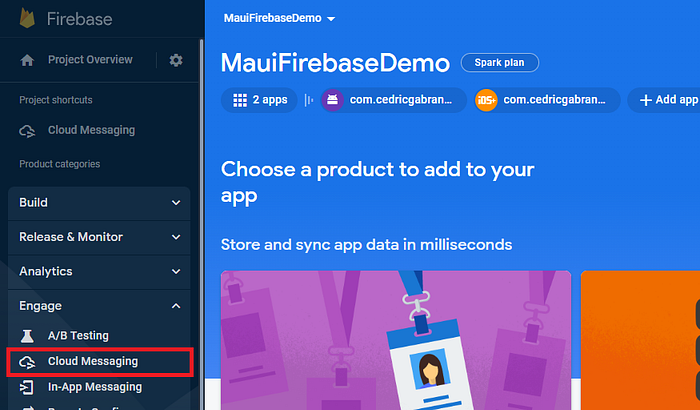
Go to the Firebase Console. Navigate to the Cloud Messaging under the Engage menu.
Click Send your first message and enter your Notification title and Notification text. Then click Send test message.
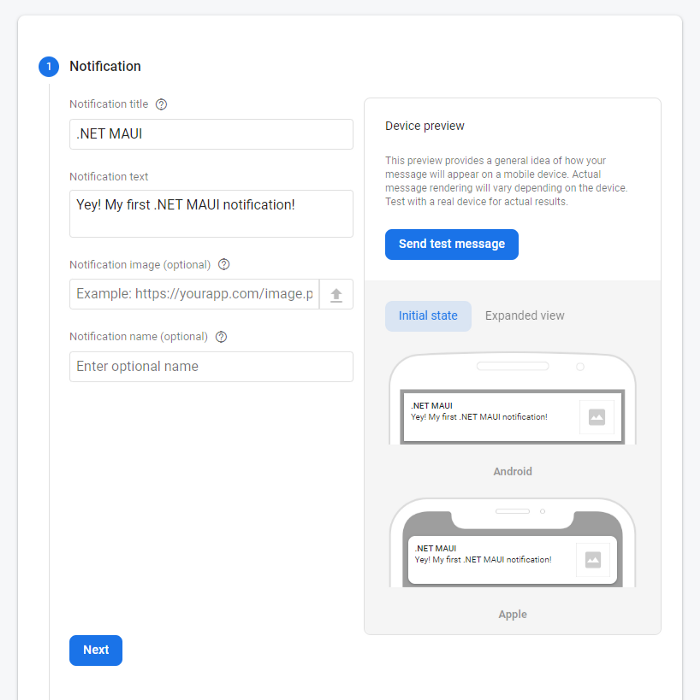
Now, you’ll be prompted to enter an FCM registration token. Paste the token you just copied earlier from your Visual Studio.
Here’s a quick demo of how it works on iPhone device:
Closing thoughts
This article covers the steps to set up push notifications with Firebase on iOS. Well, it was a bit more tedious than the Android. You may also want to follow the iOS-specific setup in the GitHub documentation for more information.
There are also different ways and best practices for managing registration tokens. Check out the thorough documentation of Best Practices for FCM Registration Token Management.
You can also check out the source code example on my GitHub.
Your support would greatly help me continue my journey of creating quality content and contributing to the software development community. Thank you for considering!
